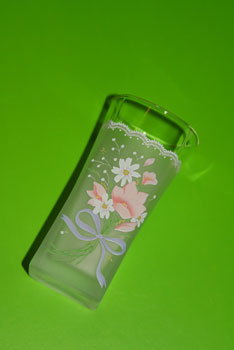
Before we can end this tutorial, we need to learn a few advance tweaks that'll help whenever we encounter problems with other photos. Transparent and translucent objects require more precision than opaque objects. We have provided an image of a glass vase with some transparent areas, some translucent areas, and a backdrop that's not excatly pure green.
Download the following image and open it inside Adobe Photoshop:
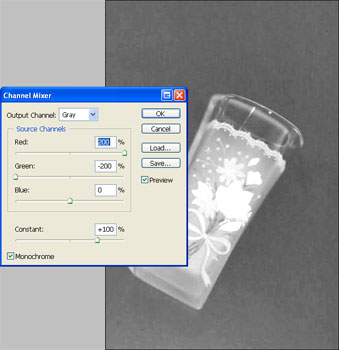
Follow the technique you've just learnt in the previous pages with this tutorial. When you've adjusted the Channel Mixer adjustment layer, you'll notice that the background isn't black. This is because the backdrop that was photograph isn't close enough to a 100% green.
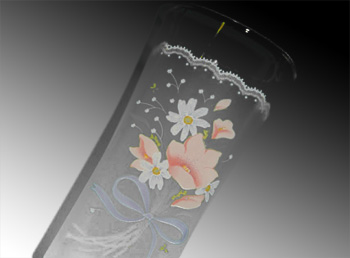
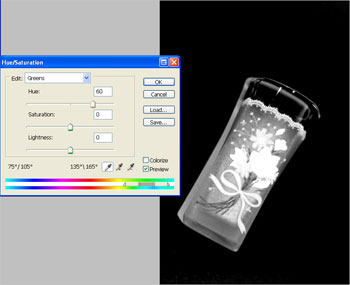
To fix this, select the layer with the photo and open the Hue/Saturation tool (Image> Adjustments> Hue/Saturation or Ctrl+U). Select Greens from the Edit drop down menu and adjust the hue until the background turns black. The hue you set should be around 60.
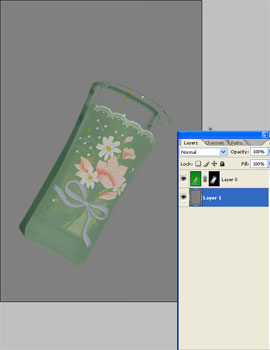
Now that we have the green backdrop fixed, convert the channel mixer adjustment layer into a layer mask and add a 50% gray background.